I’ve had to use this excuse so many times already – oh sorry I can’t print that, I need a heated build platform first… I’ve had to explain this to friends more times than I could’ve thought would be necessary. Whenever they ask me to print something wide I have to talk about cooling plastic and contracting layers and then suggest printing something else instead. Most of the time I can get away with it, sometimes even printing the long object vertically works out well, but not always… My poor mother… The only thing she has ever asked me to print, a cup to put toothbrushes inside, could not be printed by any means without a heated platform.
Given Brazilian import taxes of 60%, ordering a DIY kit wasn’t an option, so I began trying to figure out how to make one myself. It had been suggested to me that it would be easy, and after checking out Makergear’s kit, it seemed like I could build one from scratch myself.
After a while I realized it wouldn’t turn out well though. Until a few months ago I had access to aluminum plates, drills and a proper lab to make these things. Now I’m back in a country where I can’t even locate an electronics shop… But I tried making it anyways, and here’s how it turned out.
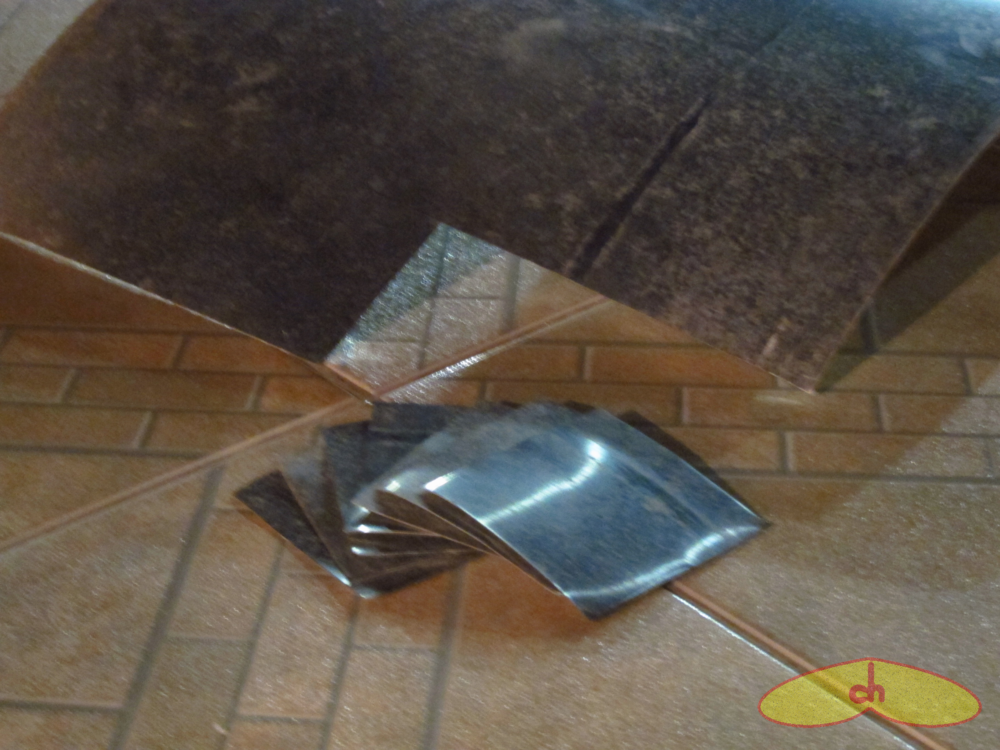
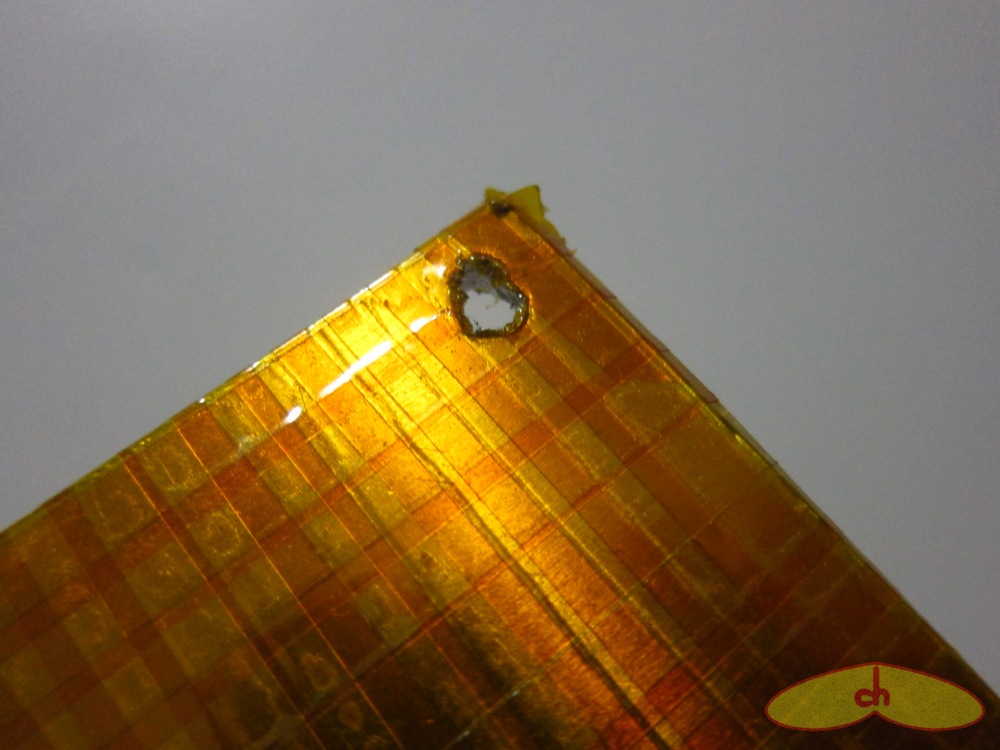
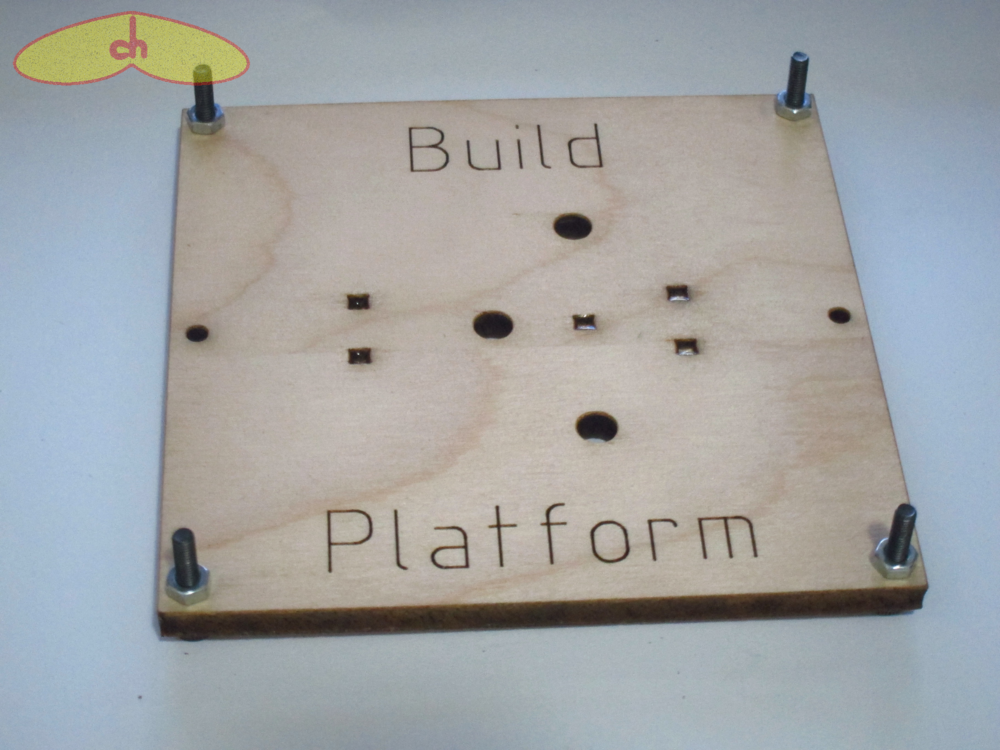
The best aluminum plate I could find was too thin, so I cut it (with scissors!) in 100x100mm pieces. They weren’t flat, so I tried pressing them the best way I could think of: I left them under my car for a day, and still they didn’t get flat. I thought future chapulina (me, now!) would be able to deal with this and proceeded anyways. I put the plates together using kapton tape all around. I don’t have a proper drill press at home, and my father’s drill only opens big holes, so I thought it would be a nice idea to open four holes on aluminum with my dremel tool. It wasn’t a clever idea, I needed a lot of patience and the holes came out distorted, but hey, this step was completed. By the way, my plan was to mount the aluminum on the wooden part of an extra build platform I had, you’ll understand it towards the end…
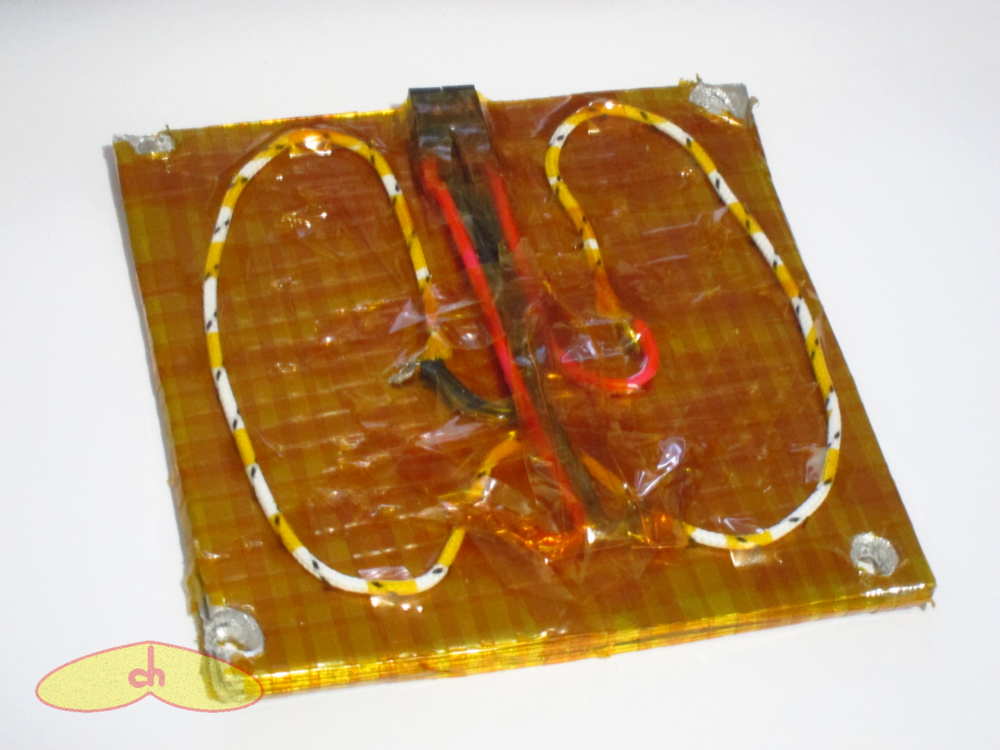
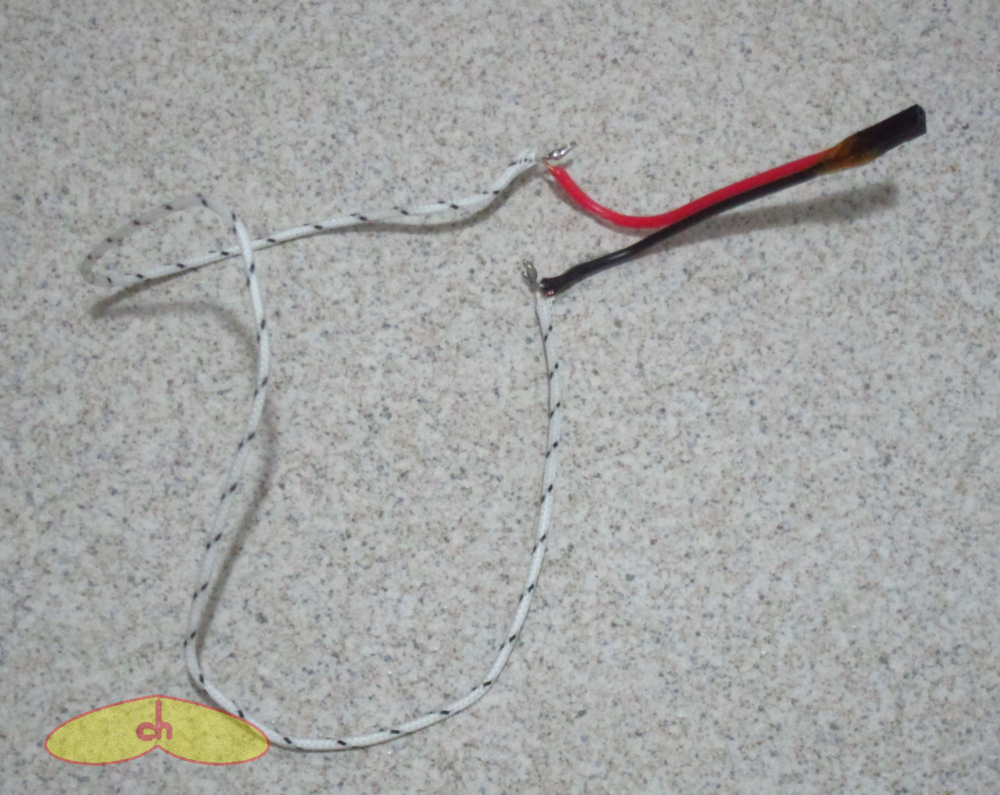
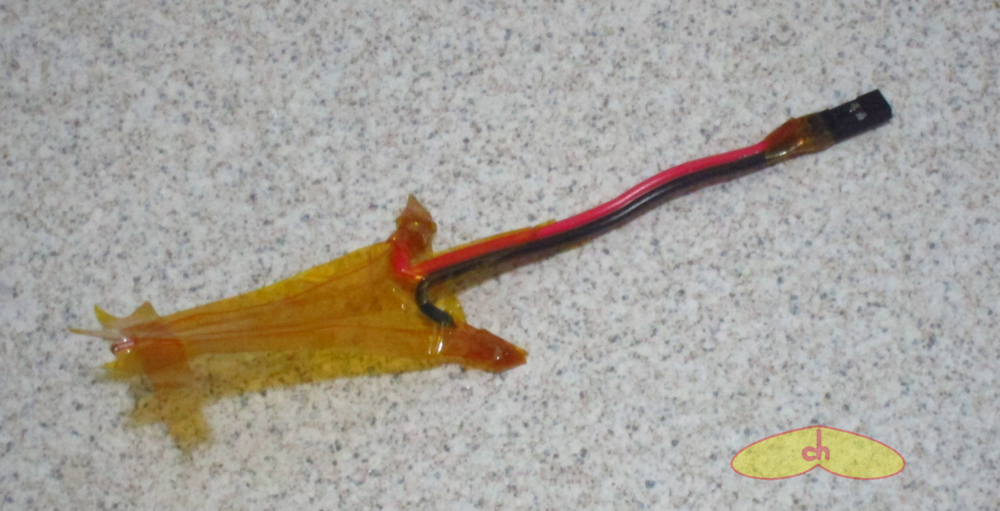
The heating element I used was a nichrome wire which I had from the time I tried to fix my MK4 extruder, it comes with a fiberglass insulation around it. I cut a 3.8 ohms length and soldered the ends to wires and a connector. Luckily I had an extra thermistor (to tell the temperature), which I also soldered to wires and a connector. Then I arranged the nichrome and the thermistor on the warped aluminum plate with ugly holes.

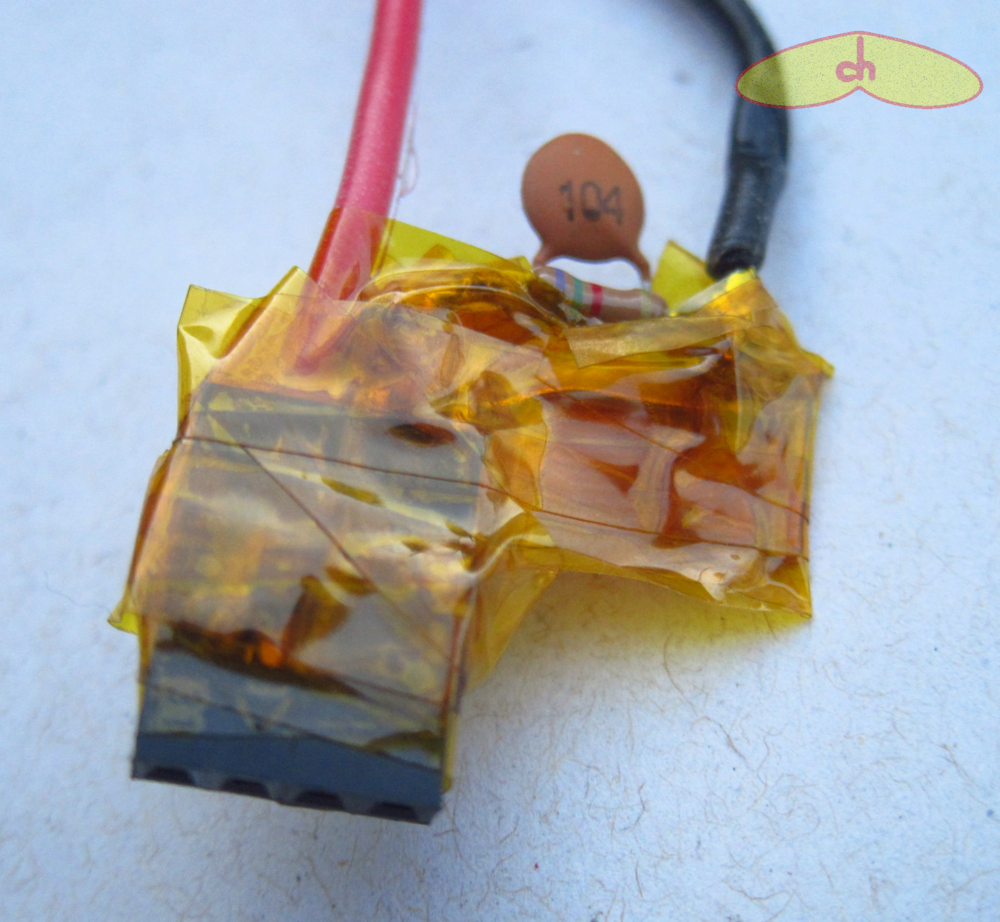
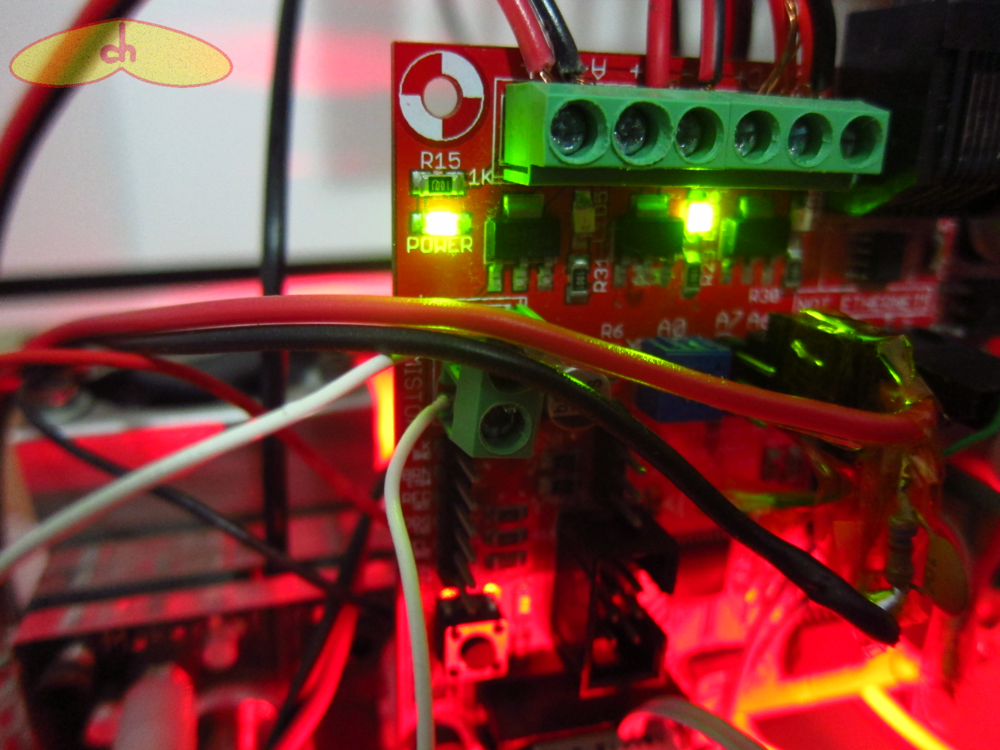
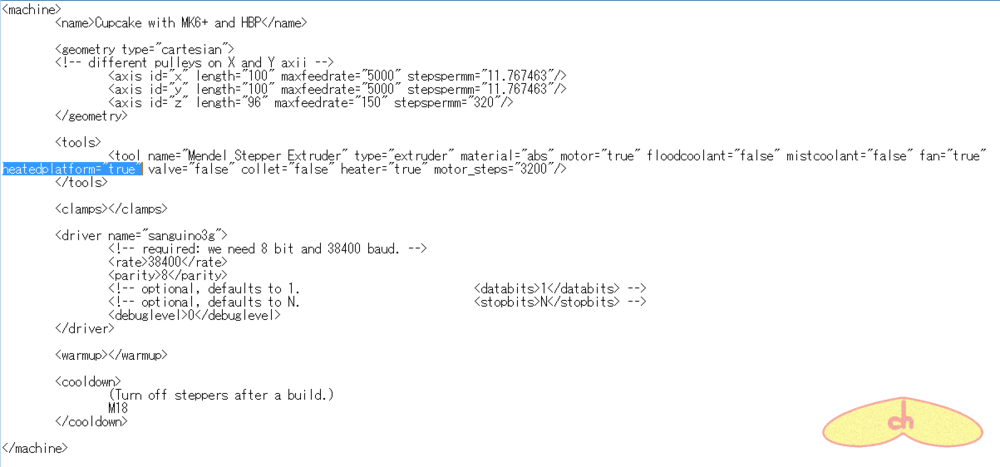
Connecting the heater would be easy, it goes straight into the extruder controller’s A port through a relay. But I was very confused regarding the thermistor. After a lot of help from the guys at the forum, I made a little circuit to connect the thermistor to the A6 port. All I needed was a resistor and a capacitor. I used spare ones I had around me, so the values are a bit off the recommended (the closest I had was 8.5k ohm and 100 nF). One of the thermistor ends goes to the ground pin on A6 (the top one), the other end goes to the SIG pin (the bottom one), and the resistor and the capacitor are connected in parallel from the 5V (middle) to the SIG pin. The platform is now built and connected. Software-wise, all I did was adding a heatedbuildplatform=”true” in the machine file (I’m still surprised that’s all I gotta do, I still think I might have missed something).
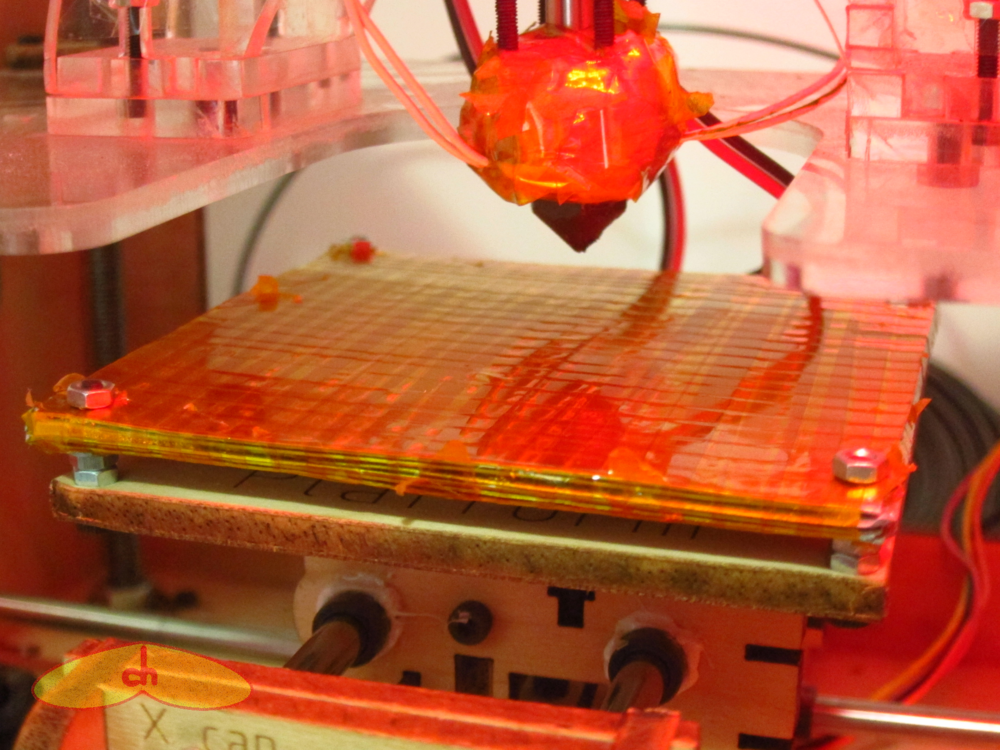
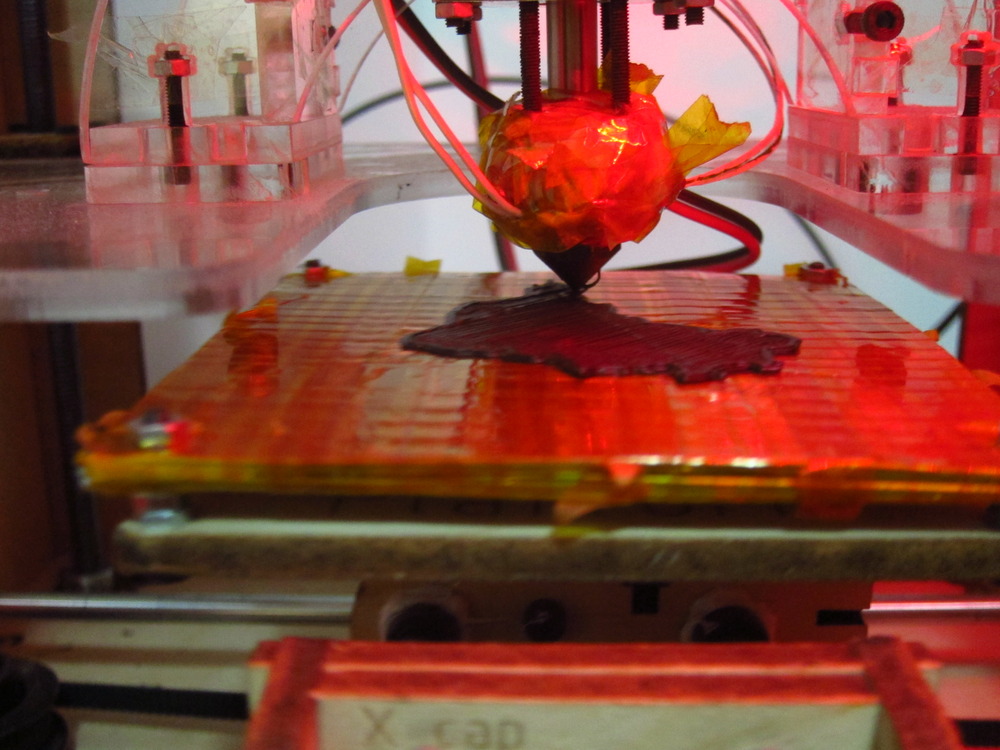
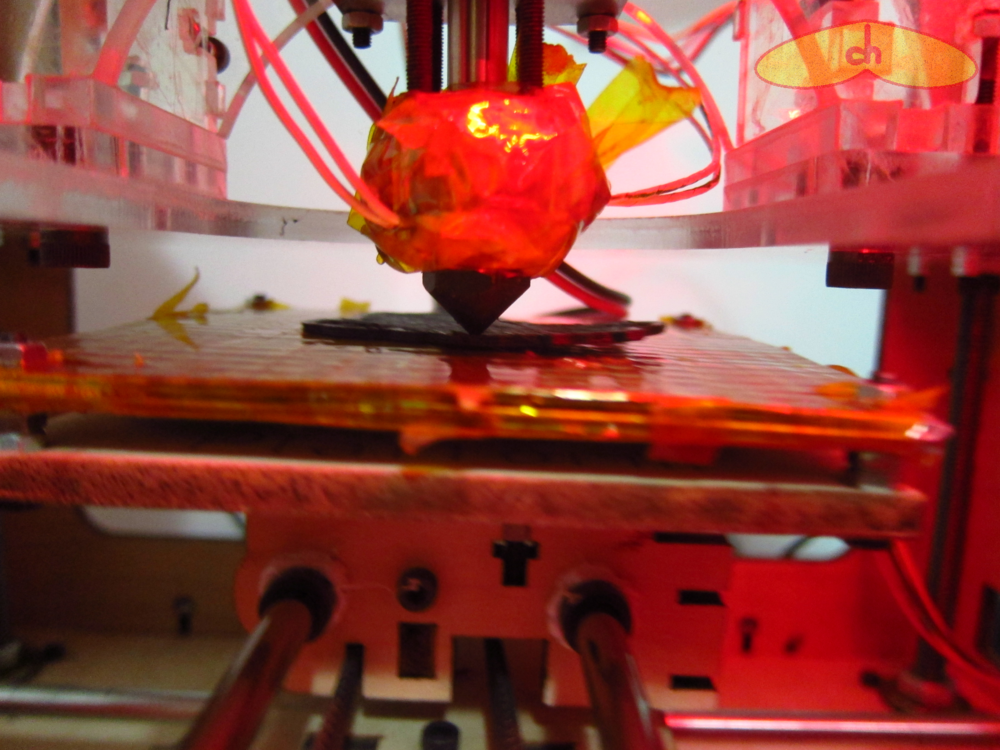
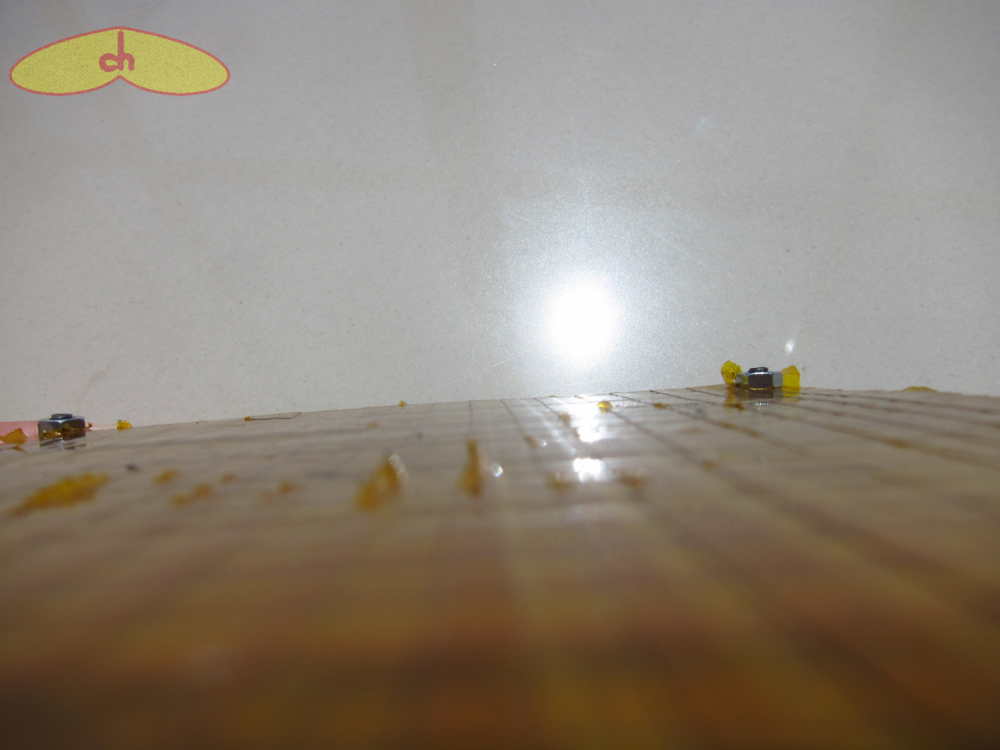
To the printing! As you can see in the pictures, warping has diminished, but it still shows up after some layers. Good enough for the super improvisation I did here, I guess… I still have some problems to fix which might help… The kapton tape peels off easily as the nozzle goes by, so I need something more uniform. I still need a way to make the platform flat, because some areas are very different. And I should also look for some longer bolts, because with the M16’s I’m using right now the aluminum stays dangerously close to the wooden platform. But besides allll that, yeah, mission accomplished!